Let’s learn how to propagate (often misspelled as propogate) a snake plant! One of the best parts about growing houseplants is propagating them, using part of a parent plant to create new plant babies! It can feel scary to cut your snake plant, but the reward is worth it. The snake plant or Dracaena trifasciata, formerly known as sansevieria trifasciata, is a standout in indoor jungles for its iconic spiky leaves. Today, we’ll start with all the methods of splitting snake plants including cuttings and divisions. Next, we’ll cover how to get your baby plants started with growing roots and new leaves.
Table of Contents
How to cut a snake plant
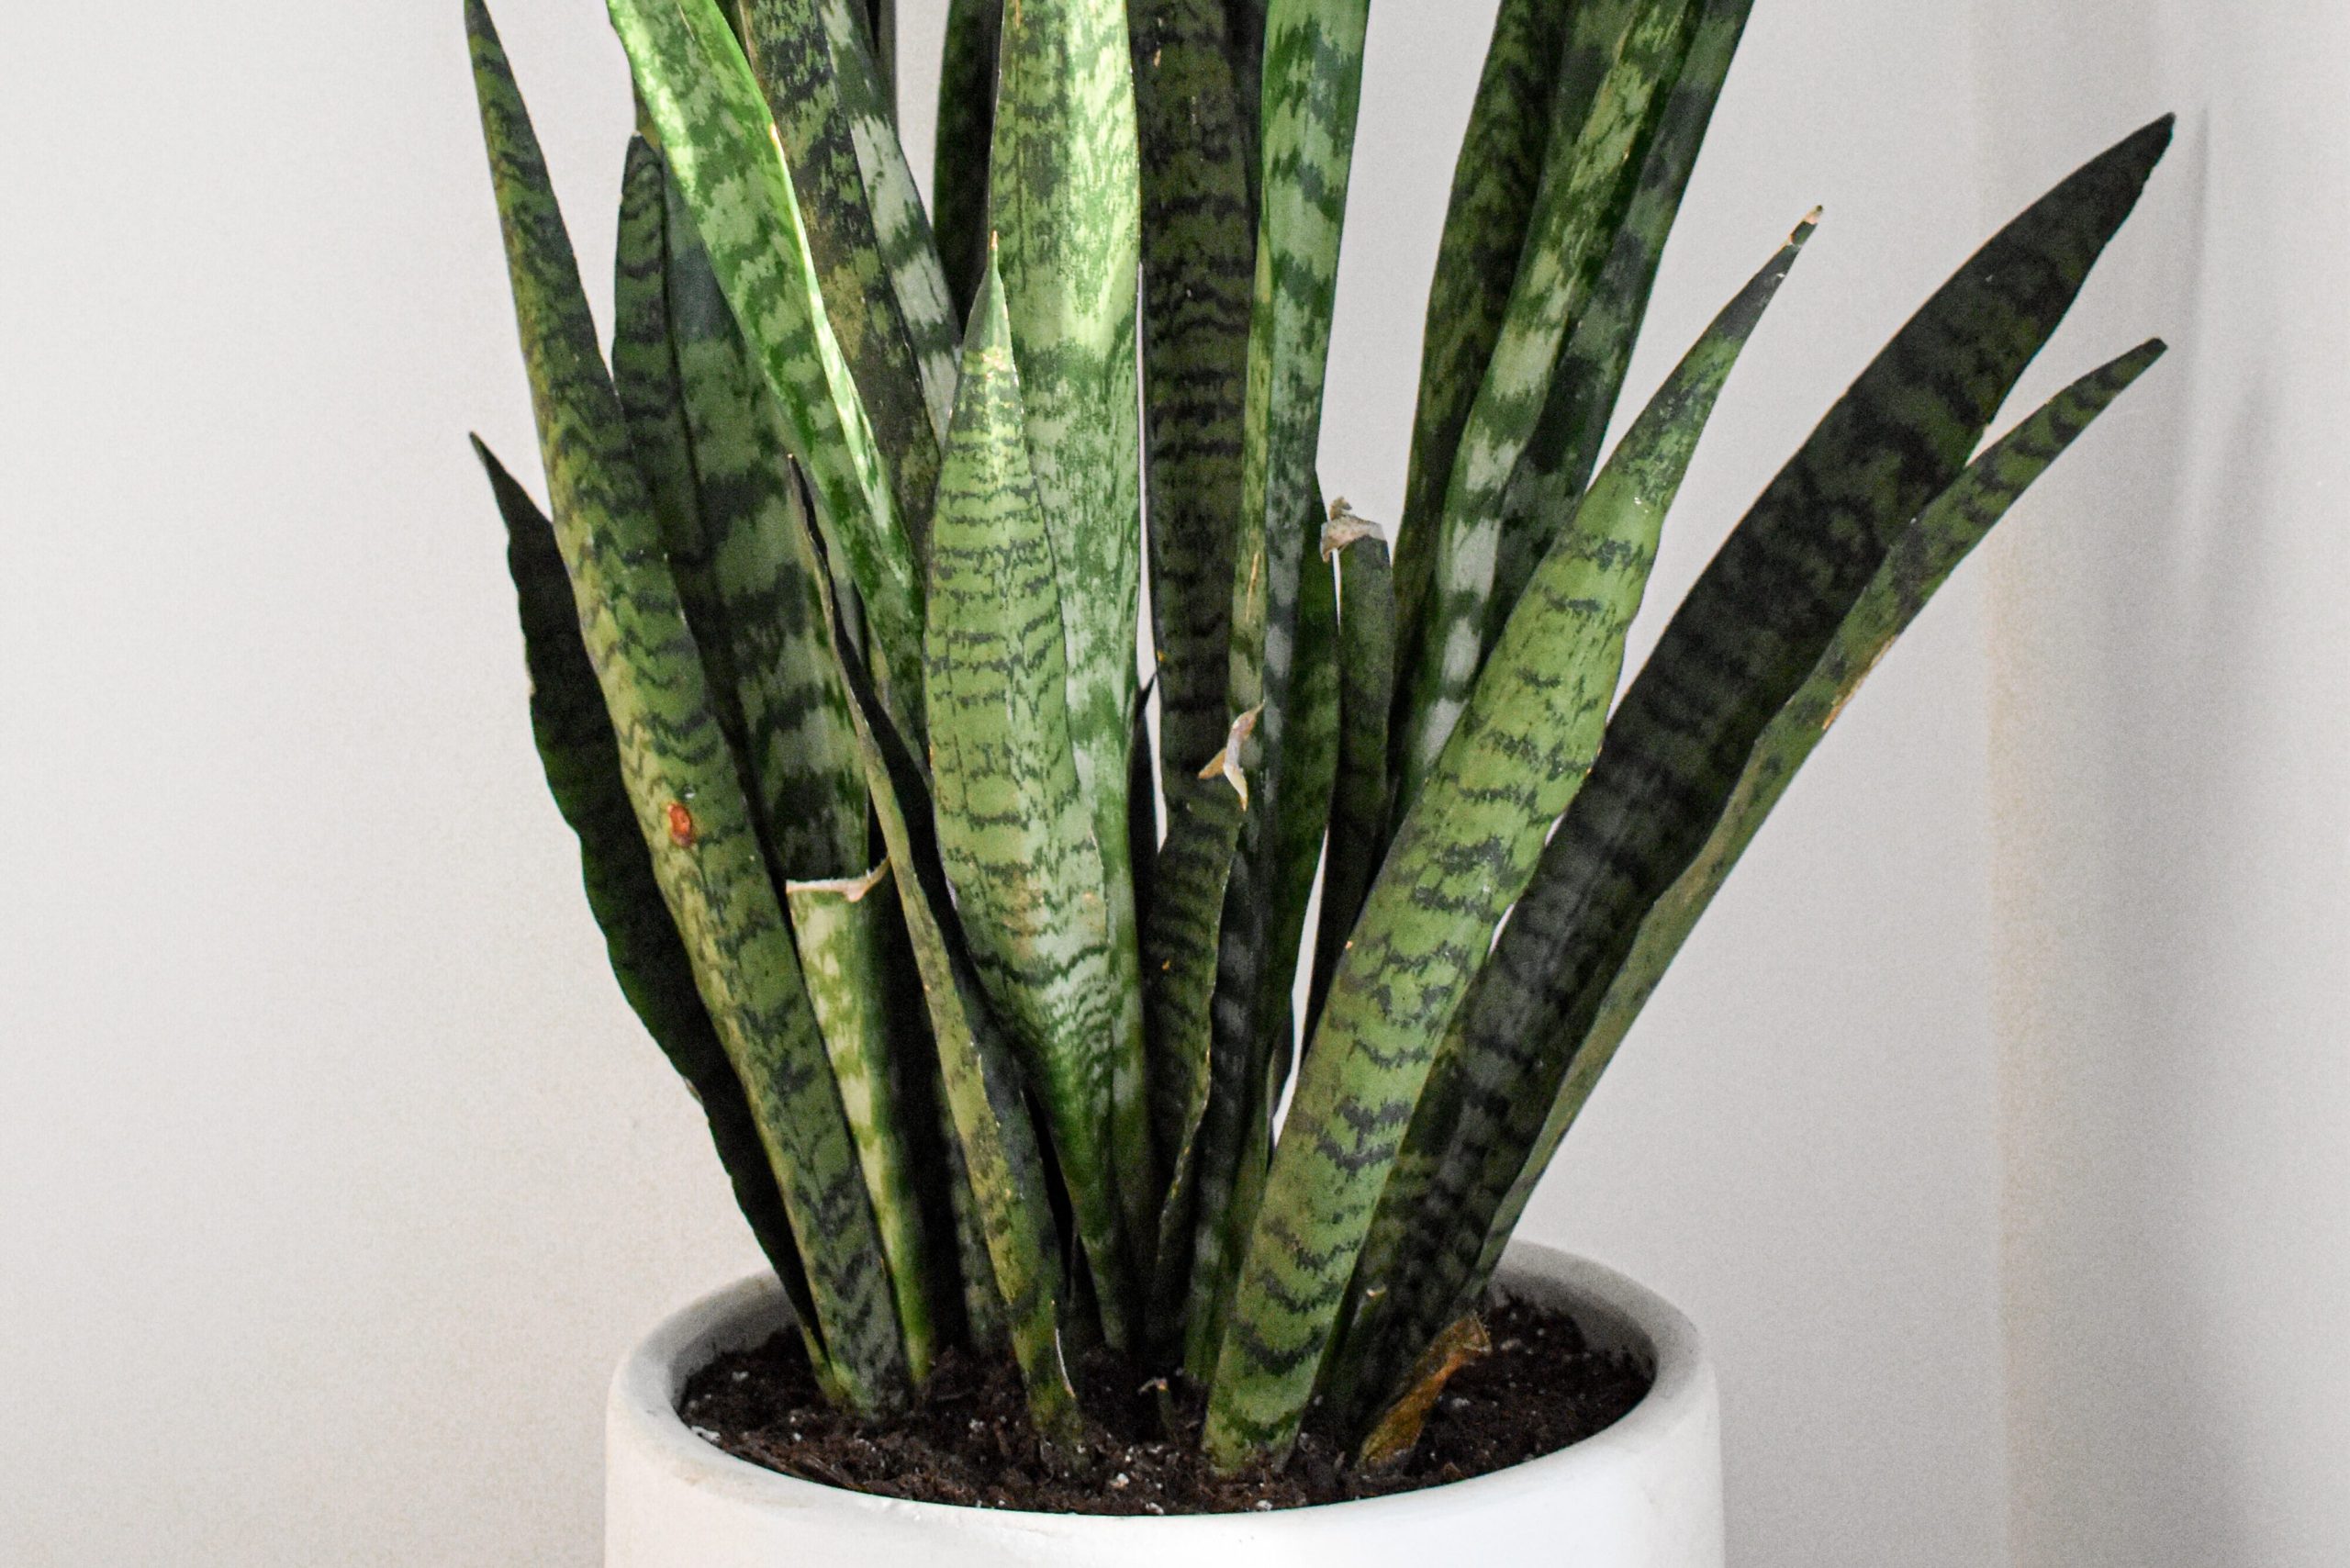
The tall, blade-like leaves of a snake plant are its most distinctive feature. For that reason, we also call snake plants by the name “mother in law tongue.” Due to their unique shape, you may wonder where you need to cut in order to propagate a snake plant.

Unlike other houseplants such as pothos, snake plants do not have stems and nodes to propagate with. The leaf blades are instead connected by an underground growth called a “rhizome” that looks like a white stem. We can propagate snake plants by leaf cuttings and rhizome divisions, which are commonly known as “pups.”
How to cut snake plant leaves
To propagate from a leaf, select a leaf to cut. I choose one from the middle of the plant so the stub is not visible from outside. You can select multiple leaves to cut as long as you take no more than 1/3 of the plant’s leaves at once. Next, you’ll need a pair of pruning shears to cut through the thick leaf at the base. Shears cut the stem cleanly, without causing any crushing damage, to keep the tissue healthy. I recommend these shears:

Ultra Snip 6.7 Inch Pruning Shear with Stainless Steel Blades
Once you have a leaf cutting, you can propagate the whole leaf or cut it further. Keep in mind that each cutting only has the limited energy available within it to grow roots; the smaller the piece, the longer it will take to grow. If your goal is to make as many plants as possible, subdividing is the way to go. On the other hand, if you want to create a nice looking baby plant, whole leaves are the most appealing. Subdivided leaves do not grow back into full leaves, so they will stay as a stump.
To subdivide a leaf cutting, cut it into horizontal strips at least 2 inches tall. Don’t forget which side is the top and which is the bottom. The cuttings need to be placed top side up when rooting because the roots will grow from the bottom.
Treating the cuttings
Now that you have your cuttings, they need to grow roots to survive. In order to help them along, you can add rooting hormone to the cutting, if you wish. Plants naturally produce this hormone, which signals to the plant that it should grow roots, but by adding hormone you can encourage it to grow roots faster. Some rooting hormones also contain fungicide to prevent fungus or rot.

HydroDynamics Clonex Rooting Gel, 100 ml
Rooting hormone comes in powder and gel format. I use Clonex gel because it works in both wet and dry mediums. Powder only works in dry mediums (like soil and not water) because it will wash off in a liquid.
Whether or not hormone is applied to the cuttings, leave them out for a day or two for the cut ends to callous and form a barrier over the cut. Snake plants have succulent leaves so this takes longer than it does for other plants. When the cutting is no longer dripping water or sticky on the cut end, it’s ready to go.
How to divide a snake plant
Depending on how long you’ve owned your snake plant, you might notice new growths poking up through the soil. As the plant gets older and more mature, the rhizome grows bigger underground. Then once the new rhizome gets big enough, it will send up a new leaf shoot and create a baby pup. Without human help, snake plants reproduce in the wild using pups.
Leaving pups in your snake plant’s pot will help the plant become more full looking. If the pot is too full or you want to create new plants, it’s time to divide!
First, grab the plant by the leaf blades in one hand and pull the plant out of its pot. Gently remove any loose dirt. A chopstick can help loosen the plant and tease out dirt from the roots. You should see the orangish roots of the plant, as well as the white stemlike rhizomes between leaf clusters. You may also see rhizomes that don’t have any leaves growing yet. Using your pruning shears, cut cleanly through the rhizome to separate pups on the outer edge of the plant. When dividing, try to leave at least 2/3 of the parent plant intact. Gently detangle any roots on the cut pieces from the main plant’s roots.
What to do with snake plant divisions
If your rhizome divisions already have several root clusters, with smaller root branches coming off the main roots, then you can plant them directly into soil. If they have no roots or not enough roots, you will need to root them like you do with cuttings. Don’t worry though, since the rhizomes are already formed it will be easier and faster than rooting from a leaf. Ideally, let the rhizome divison cut dry, but only if you are able to keep the roots moist.
Which cutting method to use? Cutting vs divisions
The best method is up to your personal preferece. Each has pros and cons. For example, leaf cuttings are less complicated to take from the parent plant, while division requires you to dig the parent up. On the other hand, each leaf cutting will need to grow roots and then grow a new rhizome before it can start putting out new leaves. Because of these extra steps, leaf cuttings take longer to produce new growth than pups.
For variegated snake plant varieties, like “laurentii” and “moonshine,” leaf cuttings result in reverted babies that display no variegation. Variegated snake plants can only be propagated true to type by division.
How to grow a snake plant from cuttings
Now that you have your cuttings or rootless divisions, it’s time to grow them into new plants! The first step of creating a new plant is rooting. There are lots of methods that can work, but each have pros and cons. The right method depends on your preference as well as the specific plant type.
Slow-growing snake plants are also slow rooters, putting them at higher risk for rot than other plants. For this reason, I prefer high airflow methods like perlite and LECA for the most successful propagations, although it’s hard to beat the convenience of water.
Rooting method criteria
When choosing a rooting method, consider the things your cutting needs to grow roots and avoid rot:
Moisture keeps your plant alive without roots and encourages root growth. Any existing roots should be kept consistently wet. High humidity around the plant will limit water loss. Airflow is important in a high humidity environment to maintain oxygen around roots and prevent root rot.
Whichever method you choose, make sure the base end of your cutting or pup is covered by the rooting medium about 1 to 1 and a half inches down.
How to propagate a snake plant in water
Water is the least complicated way of propagating your snake plant! Fill a glass or jar with water, place the cutting in, and replace the water every few days. A fish tank air stone can be added to increase water oxygen levels. We recommend this fish air pump. Click on the image or link for the current price:

Since snake plants take so long to root, you may notice the cut end of the stem becoming goopy or soft from sitting in water. This is ok as long as the area is still light colored, but if it becomes dark brown or black and falls apart, it is rotting. Cut the rotted bottom off the cutting and try again.
Pros: Can use a clear container to see roots form and check cutting for rot. Keeps your cutting from becoming dehydrated & don’t need to worry about watering frequency. Very easy to maintain consistent moisture around roots. No organic matter in medium to introduce disease. No damage to roots when removing from water. Roots grow quickly in water. Extremely easy to set up.
Cons: No airflow around roots. Only source of oxygen is what is dissolved in water. More difficult to transition roots grown in water to soil. Cut end of stem is in water.
Using test tubes allows a plant to grow its initial root system. Plus, the clear tubes allow you to monitor progress. The vertical walls (i.e. no neck) of the tube ensures that removing the plant and its new roots is easy! If you plan on growing a very large root system, stop using the lid as the root system progresses. We recommend this propagation station. Click on the image or link for the current price:

How to propagate a snake plant in perlite
Perlite has similar benefits to water, with the addition of greater airflow. Perlite is absorbent and porous, so it will wick moisture up to areas of the container that are not underwater. Keep the container filled with a small reservoir of water below the level of the cut end of the leaf, and cover the top if possible to hold in humidity around the roots.
You can use any chunky, inorganic material for this method, like pumice or lava rocks, if you don’t have perlite. Perlite is my preference because it is so lightweight; it is easy to pull out the cutting to check on it without disturbing it too much. Heavier mediums will help tall leaf cuttings stand up better, however.
Make sure you pick a course perlite (#3 or bigger to minimize dust) without fertilizer. I recommend this perlite:

If the perlite you chose comes with dust, rinse it very thouroughly before use. Keep the perlite moist but not soaking around your cutting. You know the perlite has the right moisture content when it causes fogging on the inside of the container.
Pros: Easy to maintain consistent moisture around roots. No organic matter in medium to introduce fungus or disease. Minimal damage to roots when removing from perlite. Allows airflow to roots.
Cons: Can’t check on roots forming or see rot.
How to propagate a snake plant in LECA
LECA, short for lightweight expanded clay aggregate, is a larger sized wicking medium. Some people grow plants in LECA permanently even after they have roots, a process called “semi-hydroponics.” Fill a close-bottomed container with damp LECA in the bottom 1/3, then place in your cutting and surround with more LECA to hold it up. Fill the container with water to just below the level of the cutting and refill or replace the water as it goes down. In addition, covering the top of the container will help maintain humidity around the roots. As the plant grows roots, you can reduce the level of the water reservoir to just below the roots.
You can buy large bags easily from Hydroton brand on Amazon, and also find small LECA bags at Ikea! Make sure to buy a variety like the one linked here that is made out of expanded clay. Some smaller, smooth and colorful propagation balls are marketed as LECA on Amazon, but they are made of ceramsite and do not wick as well as real LECA.

Mother Earth Hydroton Original Clay Pebbles – 10 Liter, Lightweight Expanded Clay Aggregate
LECA comes covered in red clay dust so make sure to rinse it until the water runs clear before use.
Pros: Easy to maintain consistent moisture around roots. No organic matter in medium to introduce fungus or disease. Minimal damage to roots when removing. Allows airflow to roots. Large particle size is easier to work with than perlite and easier to see roots growing due to the large gaps between particles. Plants in LECA can go longer between waterings as the resevoir holds a lot of water.
Cons: Need to pay attention to maintain resevoir at correct height. LECA will not wick if it dries out completely. Requires more complicated care to grow plants in long term than soil.
How to propagate a snake plant in sphagnum moss
You can also propagate snake plants in sphagnum moss. Moist moss holds a lot of water, which is great for maintaining humidity around roots while still allowing airflow. A cover, like cling wrap or a humidity dome, can be used to hold humidity in the container. We recommend this propagator dome.

Propagator with Humidity Vents Domes,Heavy Duty Growing Tray Mini Greenhouse for Seedlings,Clones
This method can yield great results, but is difficult to execute correctly. People often have issues caused by moss that is too wet or too dry.

besgrow New Zealand Sphagnum Moss (100 Grams)
Pros: Maintains high moisture and humidity without liquid water. Lightweight and easy to shape around roots. Roots transition more easily to soil.
Cons: Can easily become too compacted. Hard to maintain consistent moisture. Can’t check on roots forming or see rot. Damaging and time consuming to remove from roots. Organic medium can introduce fungus or disease.
How to propagate a snake plant in soil or dirt
Many commercial nurseries that need to produce new plants efficiently just plant their cuttings straight into soil. This method can work, especially with a fresh, healthy cutting, but it has the most downsides out of all the methods. Make sure to use an appropriate soil mix for snake plants, not dirt from outside.

Snake Plant Imperial Houseplant Potting Soil Mix by rePotme – Mini Bag (2 Quarts)
Pros: No transplanting required. Plant can benefit from beneficial bacteria and fungi in soil.
Cons: Hard to maintain consistent moisture. Can’t check on roots forming or see rot. Soil can become anaerobic if overwatered. Organic medium can introduce fungus or disease.
How to propagate a snake plant in sand
While snake plants have succulent leaves like a cactus, I don’t recommend propagating them in sand. Sand has the same downsides as soil, although it is inorganic. In addition, sand becomes compacted extremely easily, which means no airflow to your plant and a much higher chance of rot in a waterlogged and anaerobic environment.
Propagating snake plants faster
Until your cutting grows roots, you don’t need to add nutrients to the water you use to moisten your propagation medium, because it can’t absorb them. Once roots begin to grow, you can add nutrients to help it grow faster. I use a few drops of Liqui-Dirt added to the water. This is a low strength fertilizer that won’t harm fragile baby plants or encourage algae growth in your propagating medium.

Snake plant propagation problems
The two most common propagation problems with snake plants are dehydration and root rot. In both cases, the plant is not getting the water that it needs. If the leaves of your cutting or pup become wrinkled and limp, your first action should be to check the roots.
If your cutting doesn’t have any roots yet, it’s been too long since it had a drink. You can cut a small slice off the cutting bottom callous, and place it in water for a day or two to rehydrate. Then, place it back in the propagation medium.
If the cutting does have roots, check to make sure they are still firm and orangey white in color. Dyhydration with good roots means that the plant needs more consistent water in its medium and you should water more frequently. If the roots are black, brown, mushy, or stringy they are rotted and are not longer providing your plant any water because they are dead.
Treating root rot in snake plants
If your snake plant gets root rot, don’t panic! Cut off any stringy and mushy tissue with your shears, and then reroot it as though it were a rootless cutting using one of the methods outlined above. Using these methods you can rescue any cutting, pup, or established snake plant.
Do you have everything you need to get started with propagating your plants? Check out our recommended supplies!